The lifespan of a hard disc is finite; even if you’re lucky and it lasts for five years, the day will come when it stops working properly. Also, if you save a lot of information on your computer, the storage capacity of your hard drive may quickly become inadequate, prompting you to seek for an update.
What Does It Mean to Transfer Windows to Another Drive?
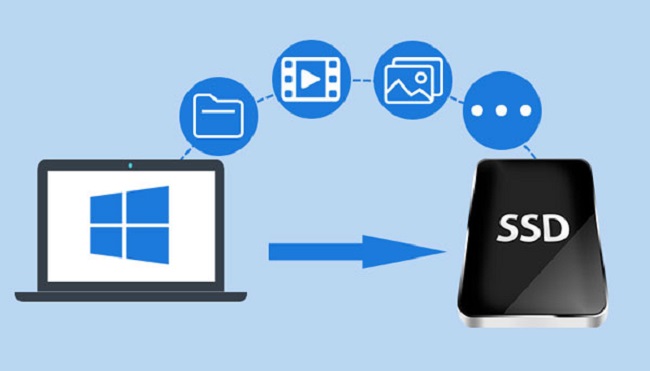
Transferring Windows to another drive, also known as migrating or cloning the operating system, is the process of moving your entire Windows operating system installation, along with all your files, settings, and applications, from one storage drive to another.
The goal is to make your new drive the primary location for your Windows environment, ensuring a smooth transition without losing data or functionality.
But what about your computer’s operating system? If you want to switch to a new hard drive or upgrade to a larger one, you will, of course, be abandoning your operating system that is now stored on your current hard disc.
Why Transfer Windows to Another Drive?
There are several compelling reasons to transfer Windows to another drive:
- Improved Performance: Upgrading to a faster SSD (Solid State Drive) can significantly boost your computer’s overall performance, reducing boot times and speeding up application loading.
- Drive Replacement: If your current drive is failing or running out of space, transferring Windows to a new drive can salvage your system and data.
- Organization: Some users prefer to separate their Windows installation from data storage to keep their operating system tidy and organized.
- Backup: Creating a copy of your Windows installation on a separate drive can serve as a reliable backup in case of system failures or data corruption.
Read Also:
Make a Windows System Image And Load it Onto The New Disc.
First and foremost, using Windows 10’s built-in capabilities, you may create a system image of your machine and then restore it to a new hard drive, thereby moving Windows 10 and all of your data to the new drive.
This is the sole alternative for customers who do not wish to utilise any third-party apps for the process, but it is somewhat more time-consuming than just utilising a tool built particularly for the purpose of transferring your data and operating system from one hard drive to another.
Using Windows 10’s built-in imaging tool, you can only back up the Windows 10 installation partition. In light of this, before making a system image of your computer, you should copy all the files you want to save to the new hard drive to this partition.
The steps to follow while using this method to move Windows 10 to a different hard drive are as follows:
- Join the machine to the external hard drive that will house the system image. Make sure there is enough space on the external hard disc to save the system image of your machine.
- To open the WinX Menu, either right-click the Start Menu button or hit the Windows Logo key + X.
- Select Settings from the WinX menu.
- The Backup and Restore option can be seen in the Control Panel when viewed in its Large Icons setting (Windows 7).
- On the left side of the window, select Create a system image.
- Select the external hard drive you just connected to your computer from the dropdown menu labelled On a hard disc. This should only be done if the programme does not immediately recognise the external hard drive as the output location.
- The following prompt will appear; please click Next.
- After confirming the backup details, hit the Start Backup button.
- You will need to wait while Windows creates the system image, which could take some time depending on how much data is being backed up. As soon as the system image has been created, the system imaging wizard can be closed.
- Insert the external hard drive containing the system image and your Windows 10 installation medium, swap out the old hard drive for the new one (you may choose whether or not to wipe the old hard drive clean), and restart the machine. Follow windows 10 bootable usb to make a bootable Windows 10 installation USB, or burn windows 10 iso to make a bootable Windows 10 installation DVD, if you don’t have one.
- Launch the operating system on your machine.
- To enter the BIOS or Setup of your computer, press the key on your keyboard that is displayed on the first screen you see once the machine powers up. When your computer boots up, the necessary key to hit will be plainly labelled on the first screen you see.
- Proceed to the BIOS’s Boot menu.
- Set your machine up to start up from the Windows 10 installation disc (or USB flash drive) by adjusting the Boot order.
- Do not forget to save your work before leaving the BIOS.
- As the computer starts up, it will look for the installation disc or drive and prompt you to press any key to continue. When that happens, just hit any key to continue.
- When prompted by Windows Setup, select your language and other options, then click Next.
- To fix your computer, select the option to do so.
- For help, select Troubleshoot.
- Choose to Restore from System Image.
- The programme will automatically find the system image and select it to re-image the new hard drive with as long as the external drive containing the image is attached to the computer and is running. If the programme prompts you to do so, select Next. In any other case, pick the radio button labelled Select a system image, then click Next and follow the on-screen instructions to manually select the system image that was previously saved to the external drive.
- On the Choose more restore options page, you can fine-tune the system image restoration process as needed before clicking Next.
- To complete, press the Finish button.
- The re-imaging procedure can be initiated by selecting Yes in the subsequent cautionary dialogue.
- You’ll be prompted to restart the computer once the re-imaging procedure is finished, at which point the new hard drive will function as an exact copy of the old one. For an instant restart, select the Restart now option.
When finished, the new hard drive will be a carbon copy of the old one, right down to the partitioning scheme.
Since the system image only specifies the amount of space to be allocated to the partitions it contains, the rest of the new hard drive will become unallocated space and will need to be reclaimed before it can be used.
By accessing the Disk Management tool and doing steps 8–17 from the repartition drive procedure, the unused disc space can be recovered and made available for use.
Read Also:
Conclusion
Transferring Windows to another drive is a practical solution to improve performance, replace failing drives, or organize your data. By following the steps outlined in this guide, you can successfully migrate your Windows operating system without losing data or functionality.
Remember to back up your important files before starting the process, and choose the method that best suits your needs and technical expertise. With a new drive and a smoothly transferred Windows installation, you can enjoy an optimized computing experience.


